Broken Link Checker Checker
Broken links in websites annoy me.
You come to a website and expect quality.
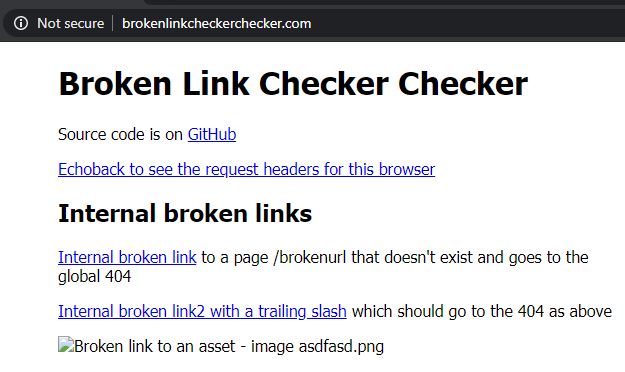
I built a tool to help check my broken link checker is working: brokenlinkcheckerchecker.com.
This project is a BrokenLinkCheckerCHECKER. Think of products like Screaming Frog or brokenlinkcheck.com My project helps to test they are working correctly, and to see what features they have.
Internal Links
Internal links are easy to fix like this one which will go to the sites 404 page. So when I realised my blog had lots of issues, I built a tool to crawl the site and find the broken links and look at the internal assets (css, js, pdf files etc..). My tool is very fast and does great highlighting of where the issues are.
External Links
I expanded the tool to make sure the external links were there ie not a 404 error, or a network error (ie a mis-typed domain name). And this is where the edge cases started.
My website contains external edge case links which don’t play as expected (linkedin.com is a prime example of an auth-wall designed to stop automated crawlers), and have put them in brokenlinkcheckerchecker.com. I use this website to check my Broken Link Checker.
Request Headers
Request headers are the header lines sent by the client in a HTTP transaction.
It is important to get these right as many websites will reject a request if the headers are not sane:
Host: brokenlinkcheckerchecker.com
Connection: keep-alive
Upgrade-Insecure-Requests: 1
User-Agent: Mozilla/5.0 (Windows NT 10.0; Win64; x64) AppleWebKit/537.36 (KHTML, like Gecko) Chrome/84.0.4147.89 Safari/537.36
Accept: text/html,application/xhtml+xml,application/xml;q=0.9,image/webp,image/apng,*/*;q=0.8,application/signed-exchange;v=b3;q=0.9
Referer: http://brokenlinkcheckerchecker.com/
Accept-Encoding: gzip, deflate
Accept-Language: en-GB,en-US;q=0.9,en;q=0.8,fr;q=0.7,la;q=0.6
An easy way to see request headers is to use this docker image nginx-echo-headers and here is the github source
docker run -p 8080:8080 brndnmtthws/nginx-echo-headers

curl localhost:8080

Then running from Chrome incognito we can see the request headers and the request:

Behind the scenes it is using openresty #echo_client_request_headers
OpenResty and saving the headers to the access.log
I wanted to see what other tools do on the internet so http://brokenlinkcheckerchecker.com/echoback does this.
To save these headers to the nginx access.log file on the server I used this nginx.conf file
Essentially doing a bit of scripting using the Lua language to expand what Nginx can do.
    log_format  main escape=none '(remote_addr:)$remote_addr\n(remote_user:)$remote_user\n(time_local:)$time_local\n(request:)$request\n(status:)$status\n(http_referer)$http_referer\n(useragent:)$http_user_agent\n(xforward:)$http_x_forwarded_for\n(requestheaders:)\n$request_headers';

    access_log  logs/access.log  main;

    server {
        listen       80;
        #server_name  localhost;
        server_name  brokenlinkcheckerchecker.com localhost;

        location / {
            set_by_lua_block $request_headers {
              local h = ngx.req.get_headers()
              local request_headers_all = ""
              for k, v in pairs(h) do
                request_headers_all = request_headers_all .. ""..k..": "..v.."\n"
              end
              return request_headers_all
            }

      #etc...
Building the VM Web app with Cloud-init and Azure
For projects of this size I use this strategy
- Azure CLI to script out the VM I want and OS (Ubuntu 18.04)
- Cloud-init to auto run commands once the machine is built
- Git to transfer files
I’ve taken the good parts of Docker eg treating my servers like cattle and not pets. So I don’t generally care if a server goes down.
I constantly rebuild my server every time I do updates
- Never need to worry about OS updates (just run the script again)
- Never need to worry about how to install apps as it is source controlled in the build script
- I find this less complex that Docker/K8s as it is a just a raw VM
- I use ssh keys so never need to remember passwords
Timings
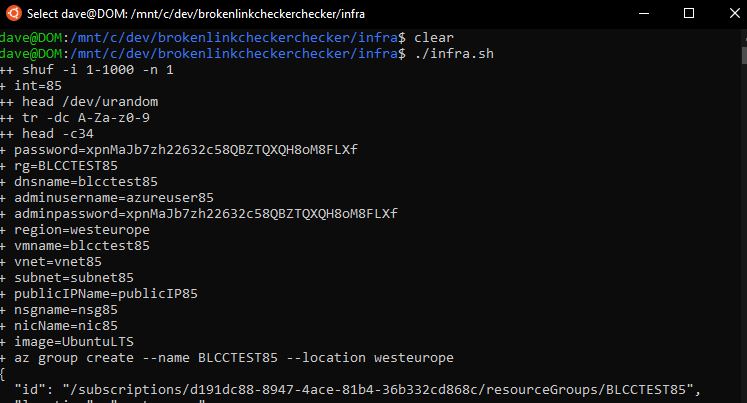
It takes under 3 minutes to build the infrastructure onto Azure ie creating Resource Groups, vnets, network rules, and creating the VM.
It takes a further 2.5 minutes for the cloud-init scripts to pull install packages and configure the server and do a reboot. This depends on the power of the VM used.

Azure-CLI
You’ll need the Azure CLI installed on your version of WSL. I use apt. Am also using WSL2 now which seems to be faster at installing the azure cli package.

This is running the azure-cli shell script.

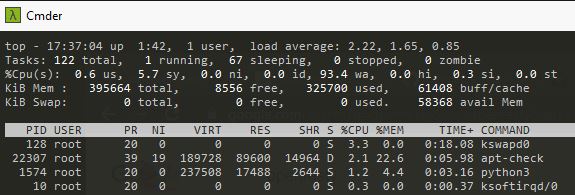
I’ve seen this every now and again when running a super low powered VM where is gets hung on doing apt-updates and running out of memory. It never seems to recover. Just run the script again, or use a higher powered VM.
Cloud-init
Cloud-init is a tool supported by: Azure, AWS, Google, Rackspace, OVH etc.. which allows configuration of a VM once it is build. I use it simply to run commands eg:
#cloud-config

package_upgrade: true
runcmd:
  - wget -qO - https://openresty.org/package/pubkey.gpg | sudo apt-key add -
  - sudo apt-get -y install software-properties-common
  - sudo add-apt-repository -y "deb http://openresty.org/package/ubuntu $(lsb_release -sc) main"
  - sudo apt-get update -y

  # the below registers openresty with systemd systemctl
  # to restart openresty: sudo systemctl restart openresty
  - sudo apt-get install openresty -y
I find this way easier to manage and debug that Docker.
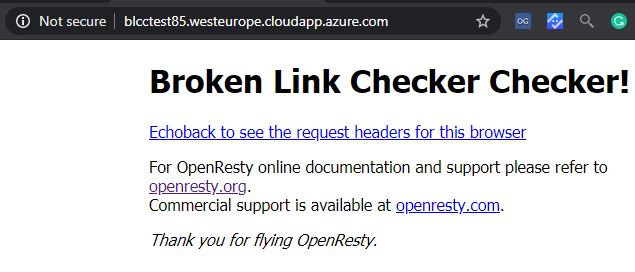
After the shell script runs and you wait a while for the cloud-init script to run, I connect from my windows shell:

Notice I don’t need a password as am using ssh keys.


The access log with full request headers on all pages.

Conclusion
Having a solid environment to test your tools on is critical. This is a fun project I’ve made open source that is useful to me!
I’ve got lots of ideas of strange scenarios eg Big Page, and maybe a page which never stops sending data. I need my tool to handle this.
If you’ve got any requests or comments please get in touch: @dave_mateer
